This document describes how to create and manage VMs in the VLab. To do so, you first need an account. You can read more about that here. This document has many images and may require some time to load.
To create and manage a VM in the VLab, you will need to run VMware Server Console. You can run this client program on any Windows or Linux computer and connect it to a VMware server programming running on any other computer. This is a typical install location on Windows:
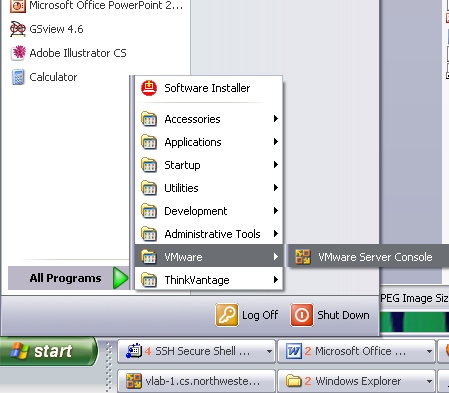
VMware Server Console is installed on the Windows and Linux computers in the TLab and the Wilkinson Lab. You can also install it on your own computer---in fact, you can even install all of VMware Server on your own computer if you'd like as VMware has begun offering it for free.
When you're interacting with a VM through VMware Server Console, it's important to realize that the VM lives beyond the console. If you disconnect or close VMware Server Console, the VM continues to run.. You must explicitly shut down or suspend VMs.
While VMware Server Console gives you direct access to the console of the VM, including graphics, remote display technologies running in the VM, such as Windows Remote Desktop/Terminal Services, VNC, or X11 will provide much faster access than the console. Think of VMware Server Console as the way to install and manage your VMs, not a way to use the operating systems installed on them.
The VLab is firewalled so that it only allows relevant traffic to/from machines in the department. Connecting to the VLab servers from the TLab and Wilkinson Lab requires no further work on your part. If you would like to connect from elsewhere, however, you'll need to learn how to use an ssh tunnel to forward port 902.
The VLab firewall only firewalls the physical VLab servers. You will have to set up firewalls for your VMs yourself, if desired. By default, they are fully exposed to the network.
VMware Server Console "captures" the keyboard and mouse for the remote VM when you click on the console window. This means that all your keystrokes and mouse movements go the remote machine, not your client. To "escape" so that you can again interact with the client, including the menus of VMware Server Console, you press the (left hand) CTRL and ALT keys together.
The VLab consists of an file/auth/web/database server node (which you may not use) and server machines vlab-1.cs.northwestern.edu through (currently) vlab-10.cs.northwestern.edu, which you may use to host VMs.
Your account will allow you to connect to each of the VLab server machines using VMware Server Console, as well as to ssh directly into the machines. Ssh access is provided for VM maintenance purposes only. You may use your account only for running VMs.
The VLab servers share a common storage system, meaning that each node sees the same /home filesystem. This means it is possible for you to create a VM on one server and then move it to another server simply by restarting it there. Nonetheless, it is a good idea to choose a server wisely to begin with. We recommend that you choose servers at random until you find one with sufficient remaining memory capacity for your VM.
You should place your VMs in /home/you/VMs, by convention. You may need to ssh in to create this directory.
In the following, we will create a VM on vlab-2, boot it using a Knoppix Live CD, install Knoppix onto the VM's virtual hard drive, boot the installed VM, and finally suspend it.
When you run VMware Server Console, you will be asked to log in:
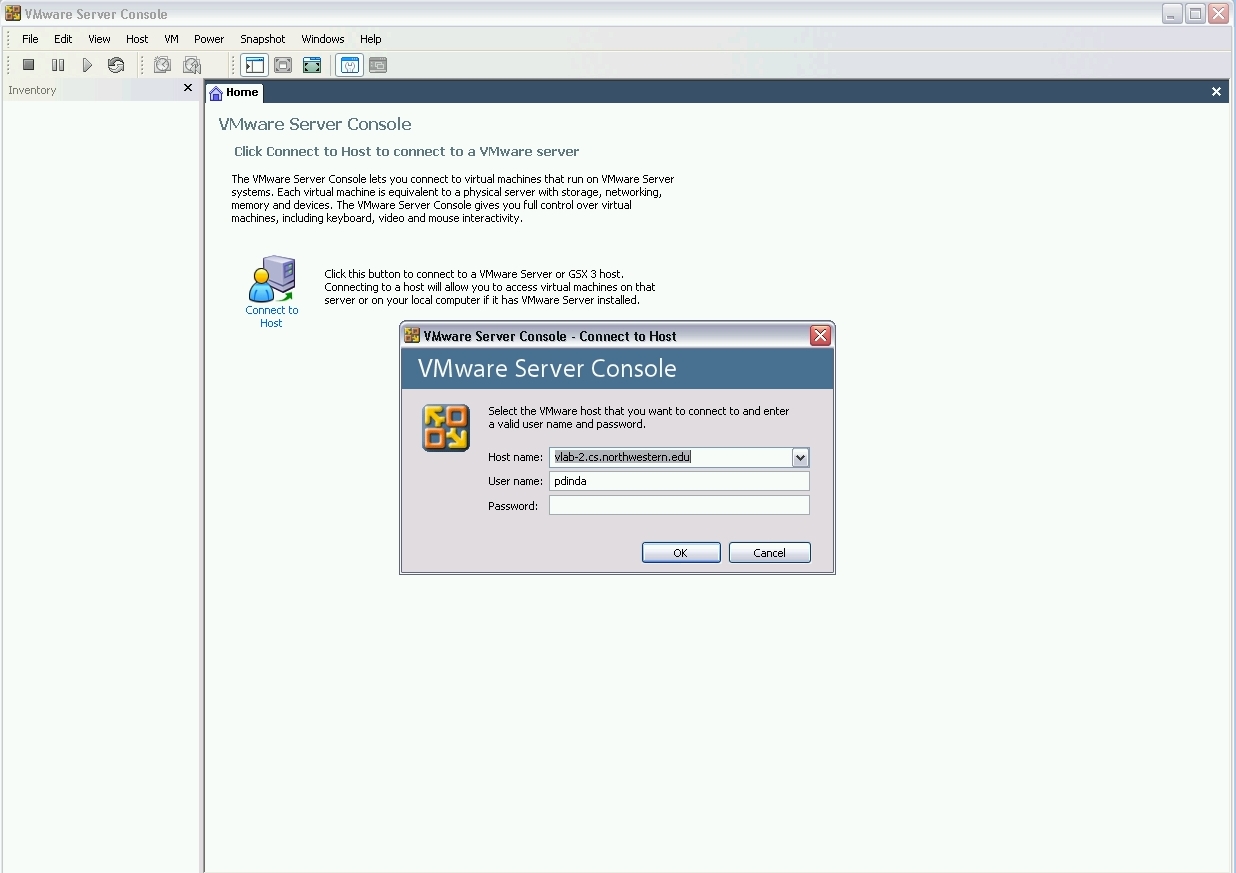
Note that you must choose the VLab machine to interact with. Here we choose vlab-2. The user name and password are those of your account. Once you are logged in, you will see a panel like this one:
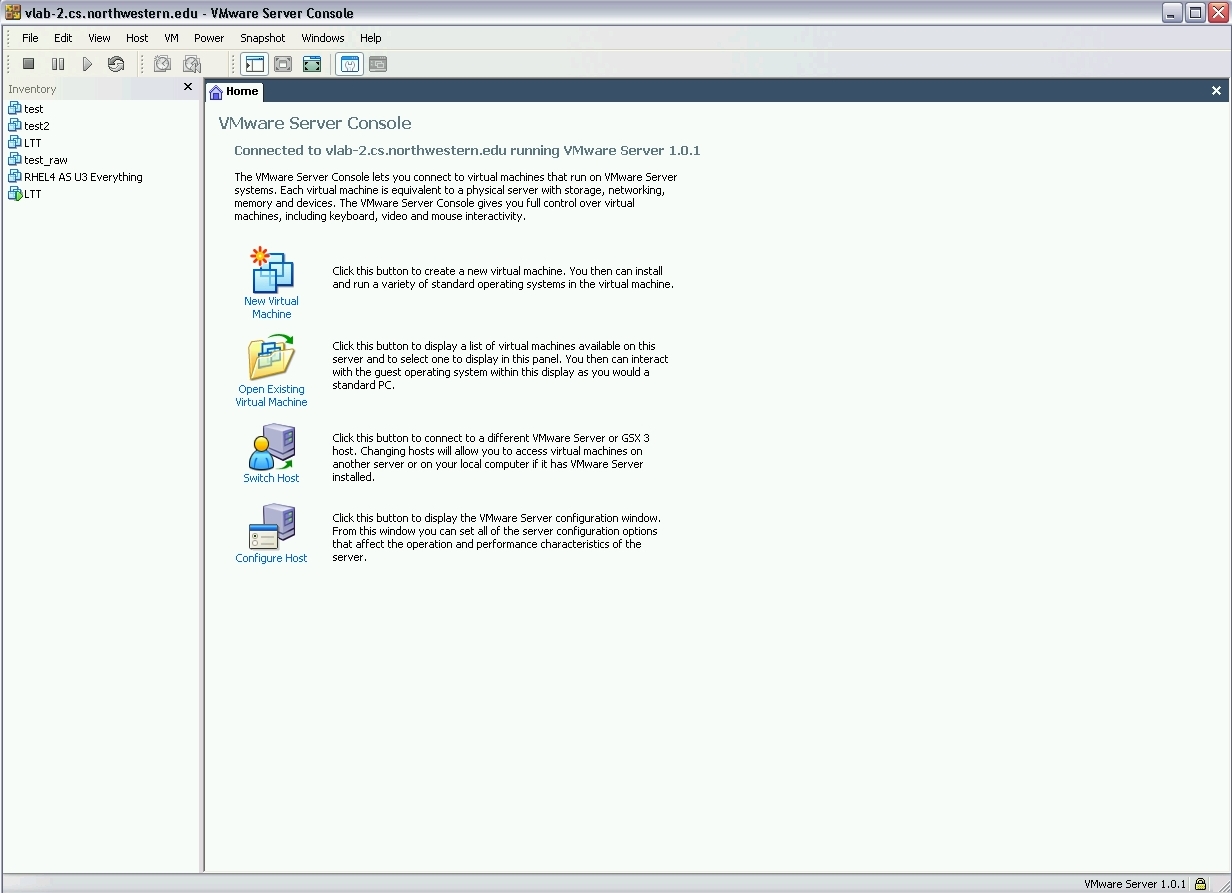
On the left is a listing of all the VMs on this host (vlab-2) to which you have access. These are either private VMs owned by you or public VMs to which you have access. You can attach to the console of a running VM just by clicking on it. And, as you can see in the right, you have the option to create new VMs. Let's click on "New Virtual Machine".
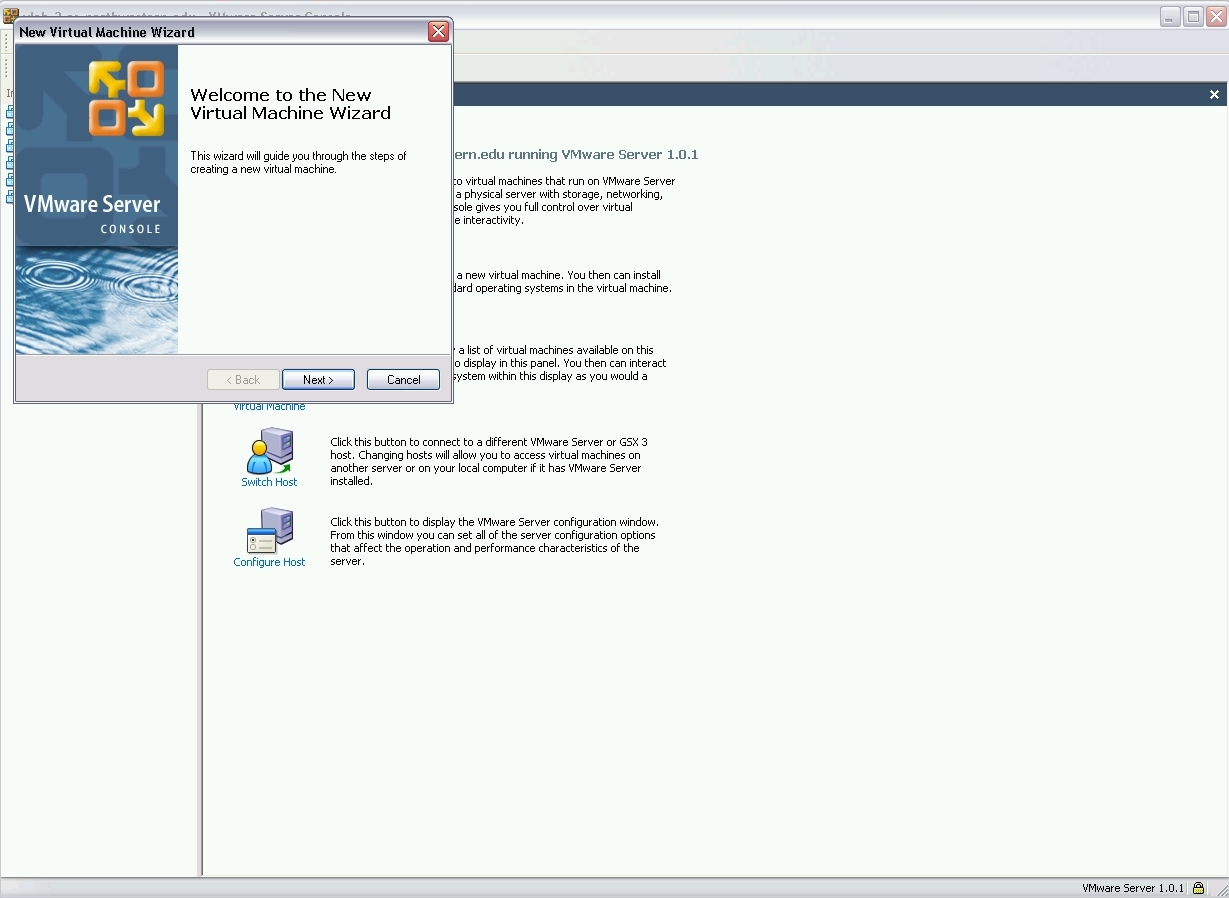
VMware has wizards and detailed configuration options. We'll use the Wizard. Let's click "next".
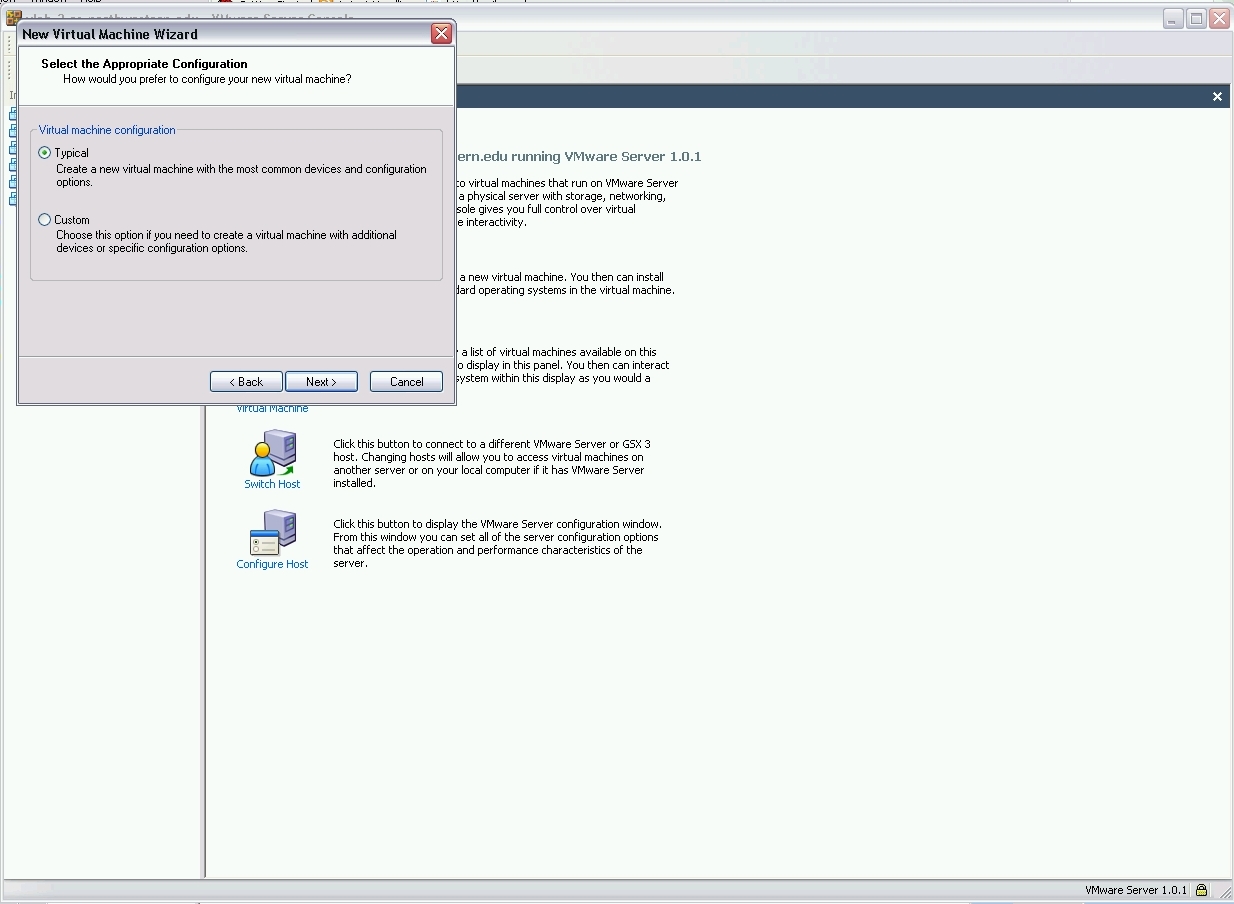
We'll make a typical VM...
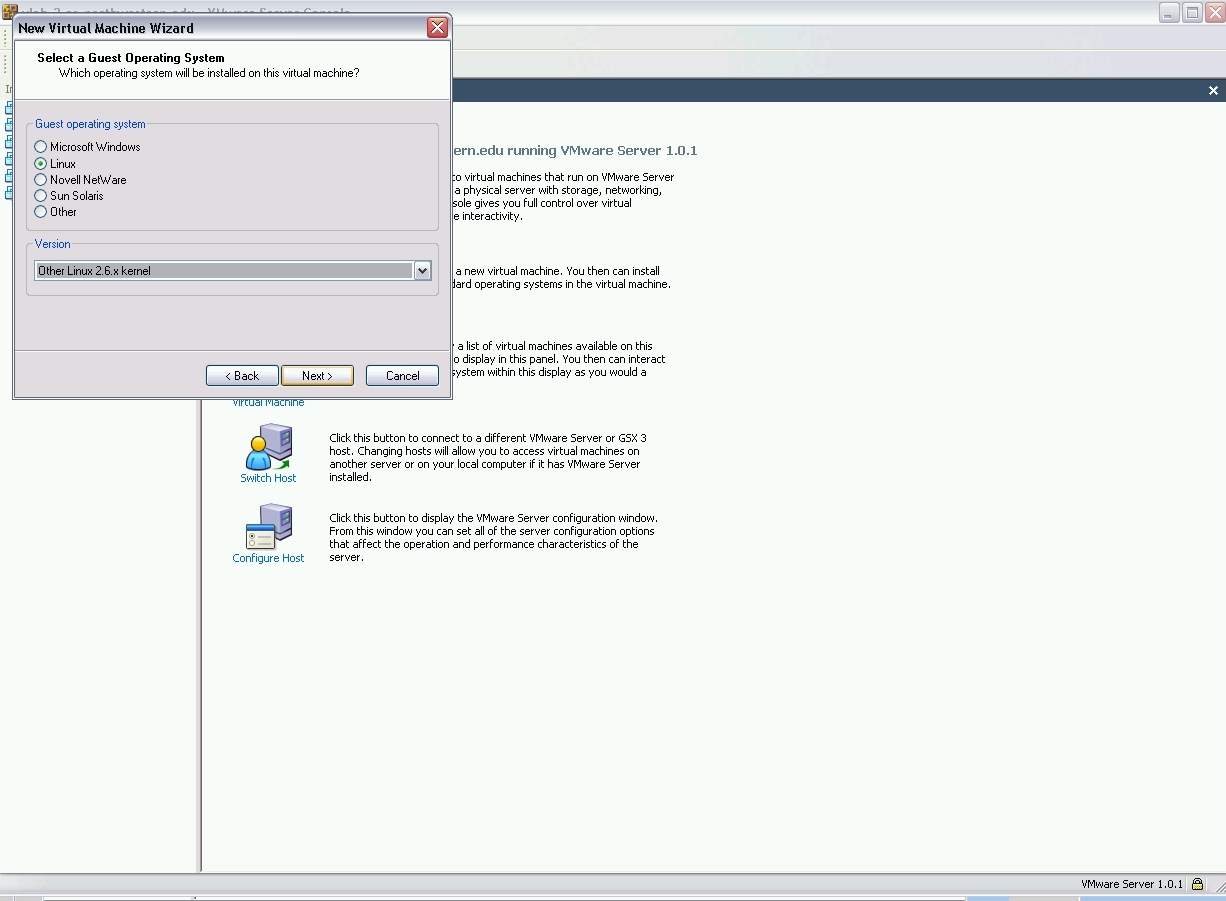
Here we can give VMware a hint as to what kind of operating system we'll be running in the VM. These hints make virtualization faster. We're installing Knoppix, which I happen to know is a 2.6 kernel, but I don't know anything else.
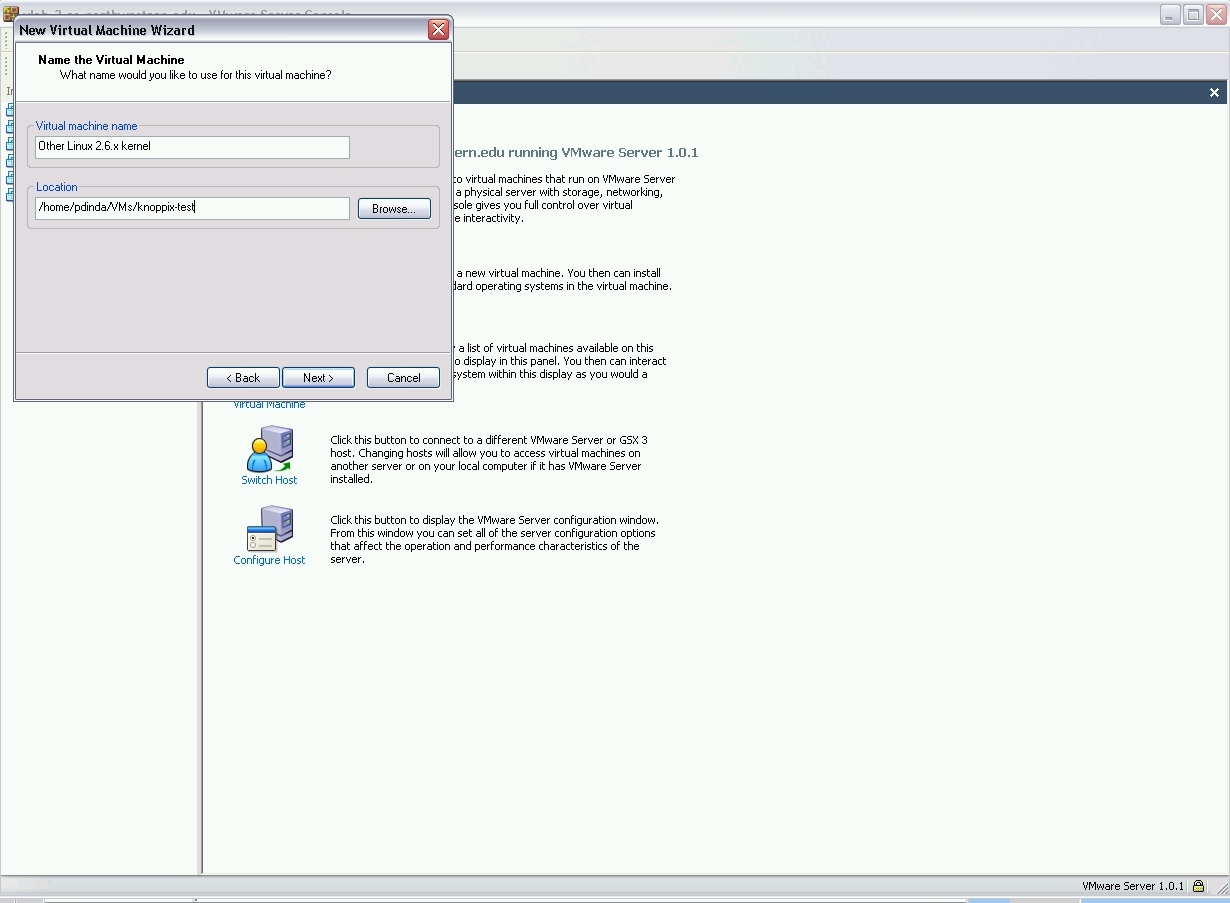
Now we'll give it a name. I'm just choosing the default one. What's important here is that we get the location of VM right. Remember, your VMs should go into /home/you/VMs.
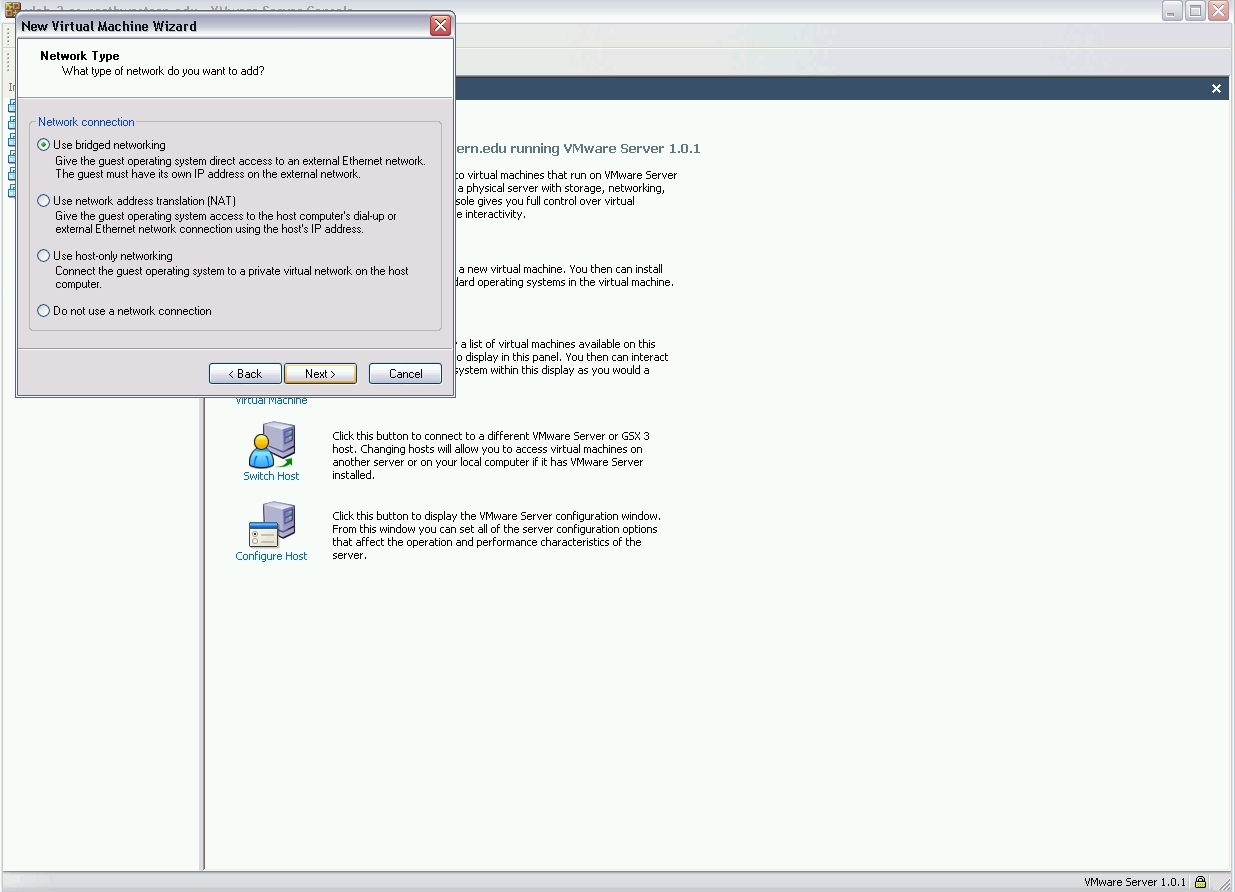
Another important decision... What form of networking do we want. Let's simplify the choices a bit and describe what else you need to do:
We will choose bridged networking. We can always change networking options later, and even add network interfaces of other kinds. Next comes the disk...
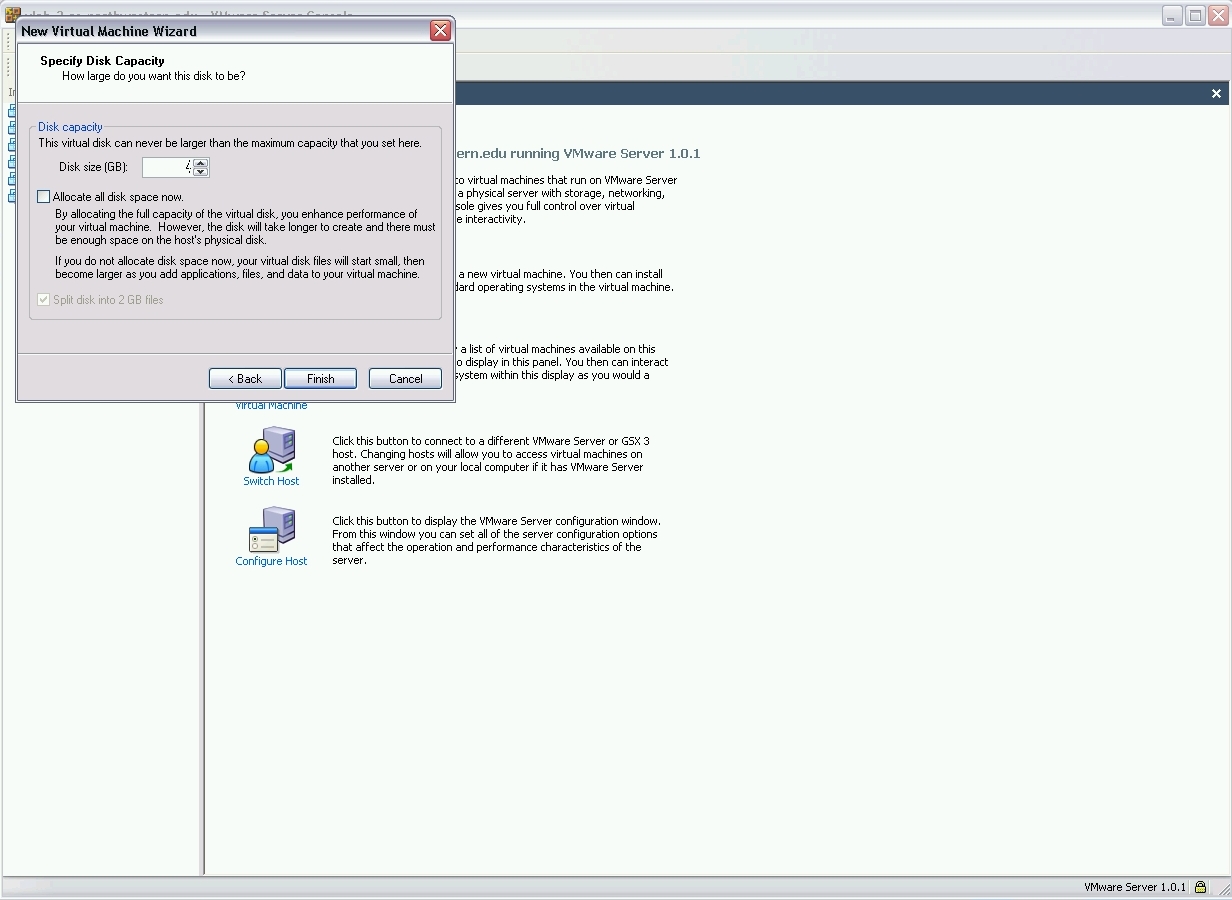
We will build a 4 GB hard disk. Notice that we are not allocating all disk space immediately. This maximizes flexibility for others. We can always add more hard disks to the VM later. And that's it. We've created our VM:
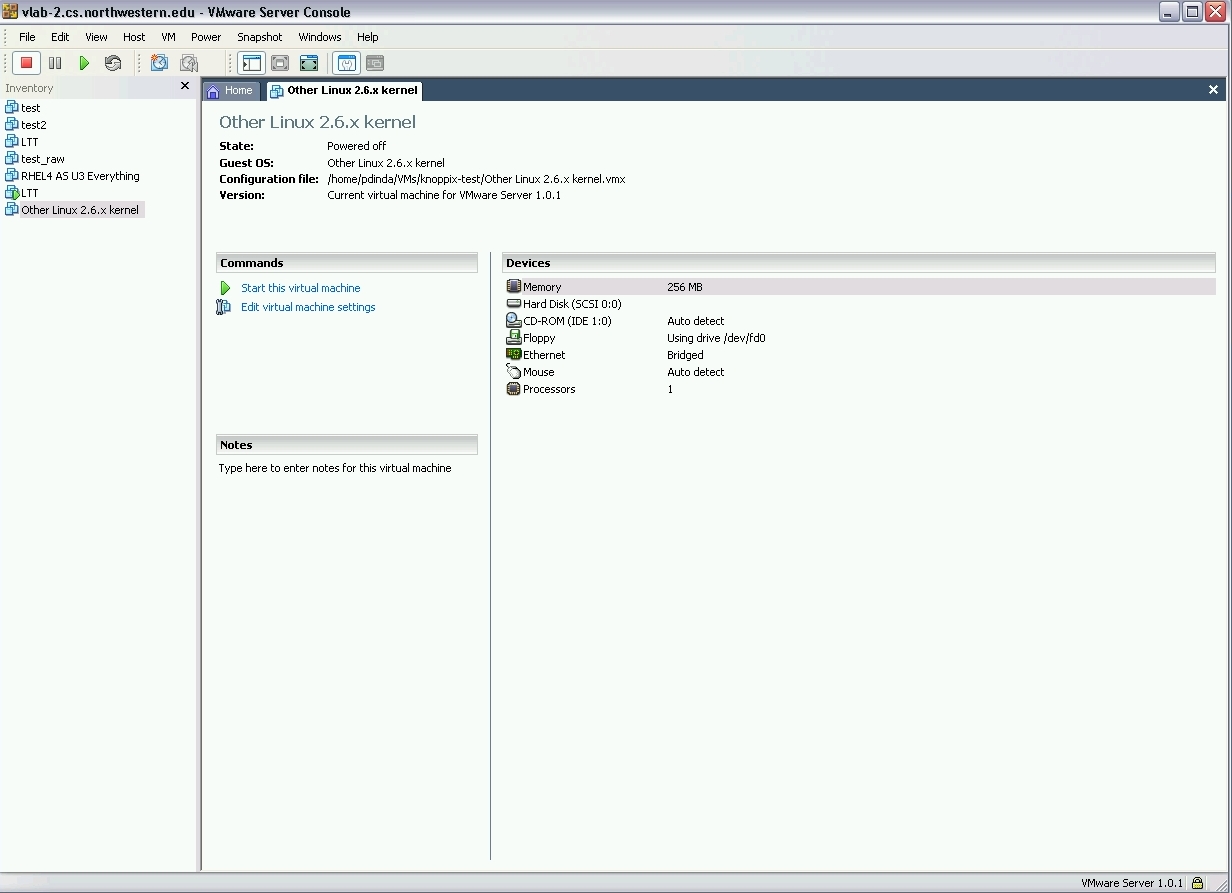
Notice that we now have a list of the VM's devices (all of which we can change when the VM is powered off), and the option to start the VM. Let's start it by pressing the green "play" button...

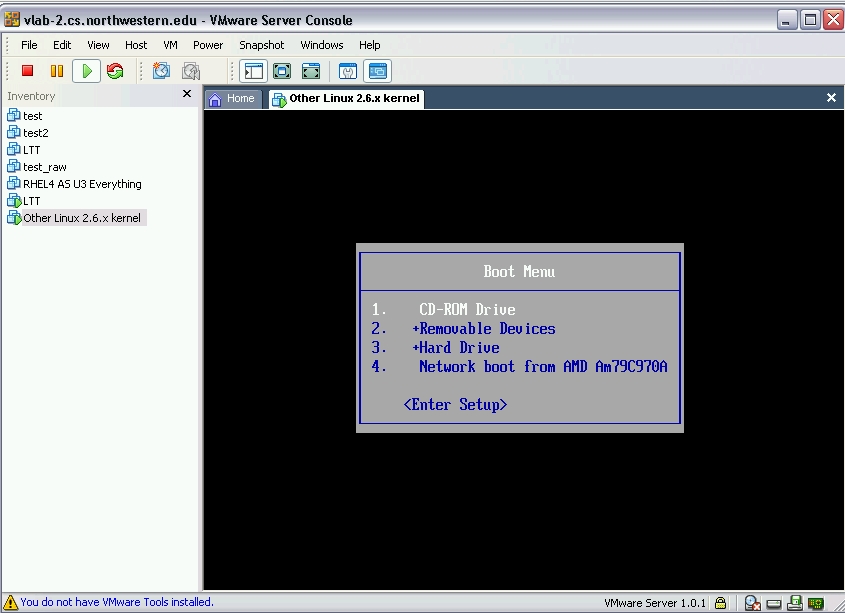
That's the BIOS boot screen. Now, at this point, there is no OS installed in the VM, so we're going to boot from a Knoppix CD and install that. You should now be wondering how the heck we're going to insert the CD into vlab-2, which may be miles away! VMware Server Console can proxy the local CD ROM drive (and several other devices) to the remote VM. This means that we can simply put our Knoppix CD into the CD drive of the machine we're in front of and boot from there. However, it's a little tricky. First, we need to interrupt the VM's boot process by hitting ESC. This will lead us to a boot options menu:
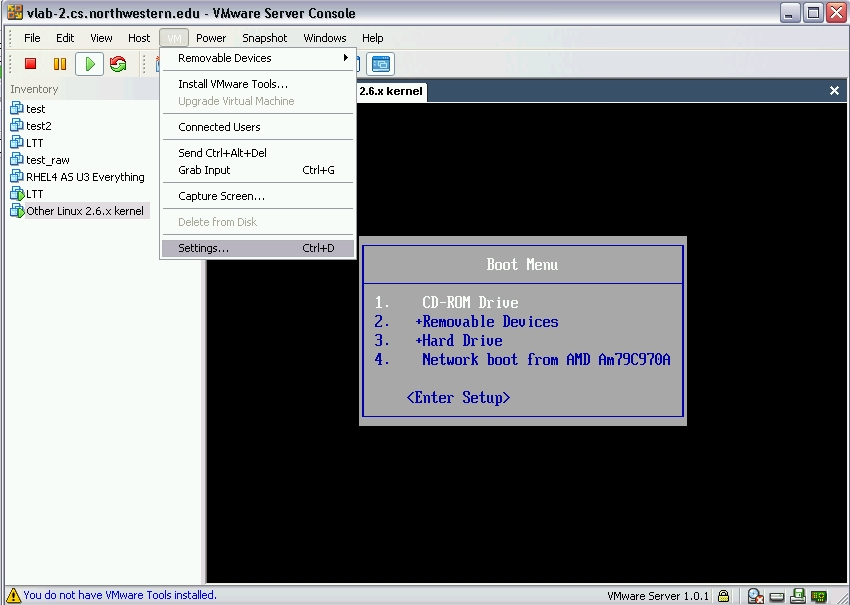
Now we'll tell VMware Server Console to connect the local CD to the remote VM. We'll go to the VM settings:
And on the settings dialog, select the the CD-ROM and configure it like this:
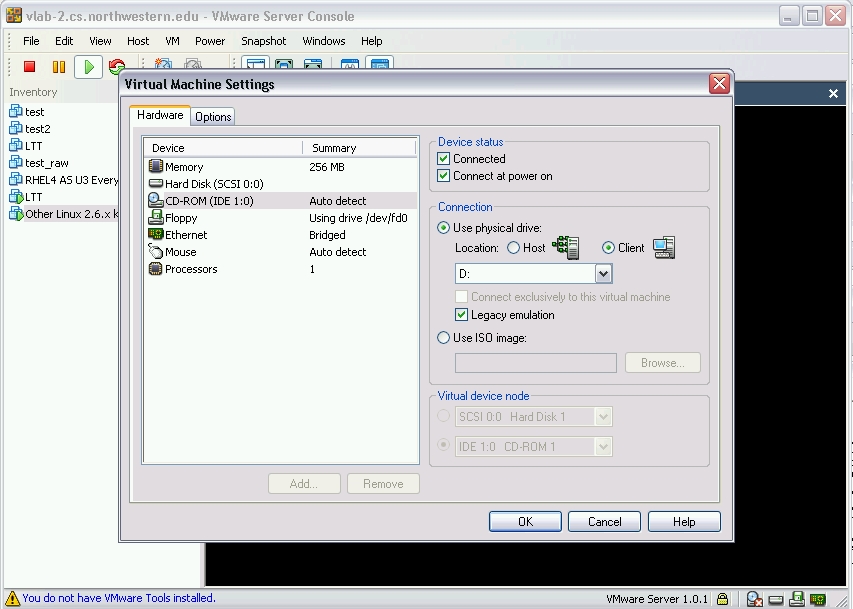
Note that we have marked it as connected, connect at power on, physical drive, client, drive D: (or whatever the CD drive is), and using legacy emulation. After we OK this, we'll be back at the VM's boot menu:
From here we'll select the CD ROM, and after a bit of crunching, we can see Knoppix is starting to boot for us:
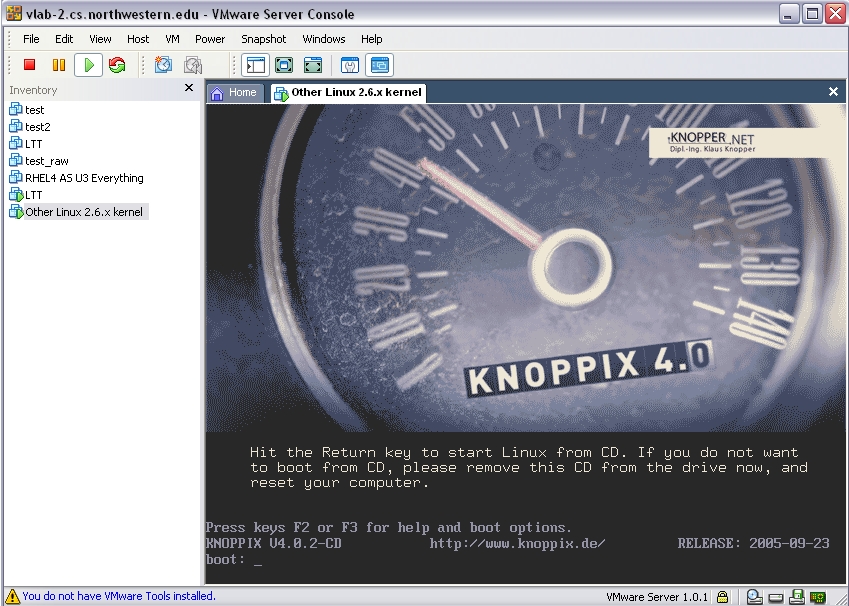
You would boot the Windows installer CD, Red Hat installer CD, etc, similarly. And, of course, you can do an install on the virtual hard disk you created earlier:
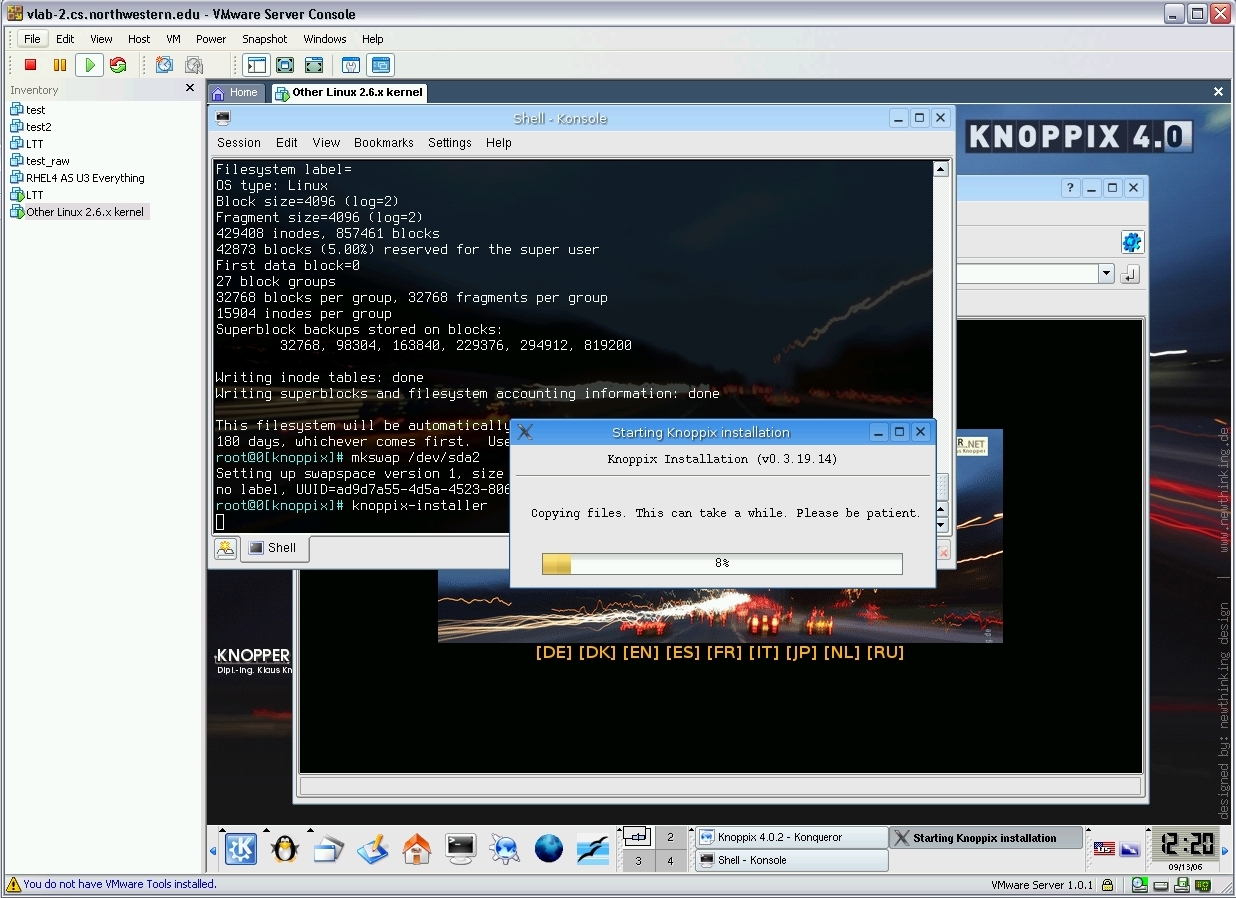
In the background, you can see the VM's view of the virtual devices we created: /dev/sda is the virtual hard drive, and eth0 is the virtual Ethernet NIC. And of course we can now boot the installed VM without the CD right from the virtual hard drive:
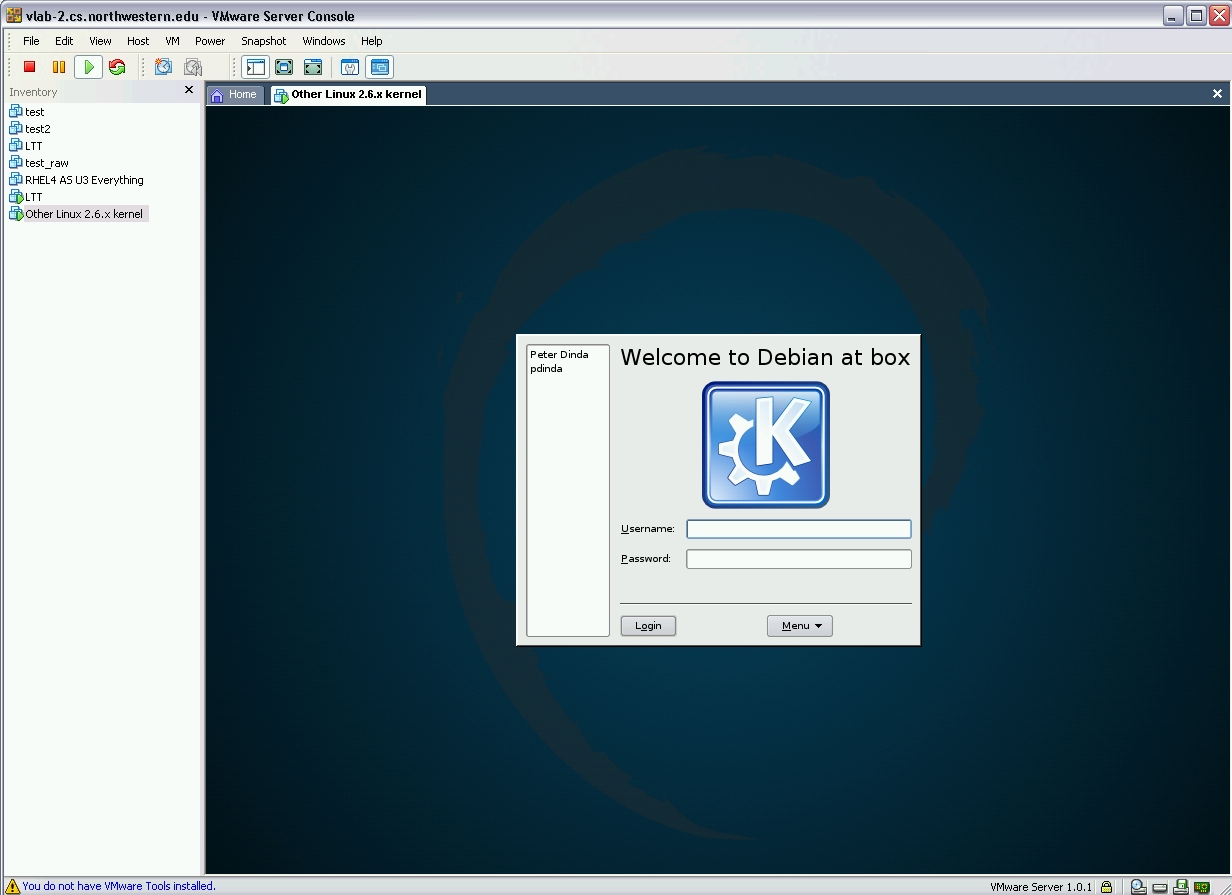
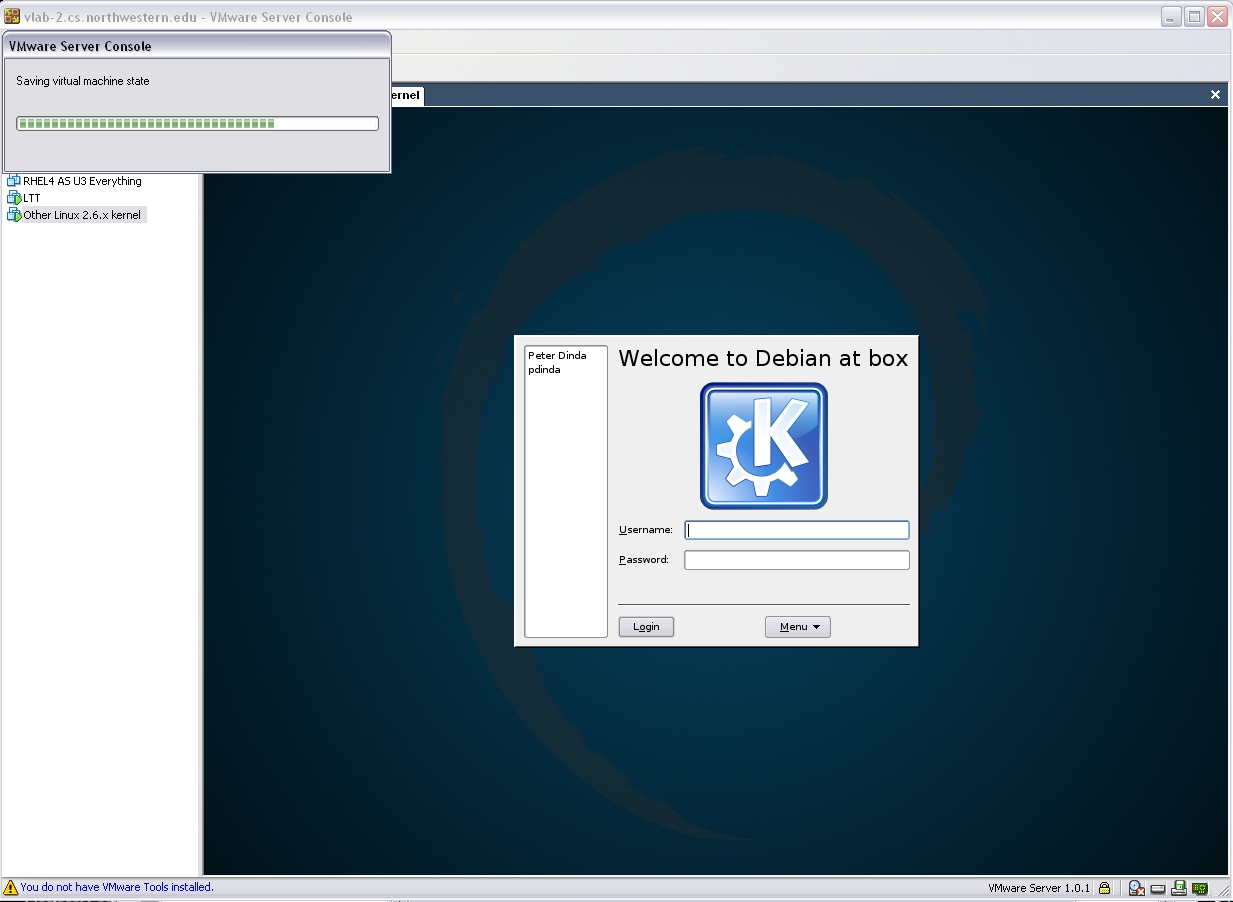
Note that if we close VMware Server Console at this point, this "Knoppix box" will continue to run. We can explicitly power it down or suspend it. Suspending a VM is similar to hibernating a laptop. The memory state of the VM is saved to disk and the VM is stopped. The VM can later be resumed from disk. To suspend the VM, simply press the "pause" button. Suspending is usually pretty fast and looks like this:
If you would like to make I/O in your VM faster, and to give VMware control over some aspects of the guest OS in your VM, you can install the VMware Tools. To do this, simply select VM->Install VMware Tools. This will attach a virtual CD ROM to your VM with the tools on it. For example, for Linux the CD ROM will include an rpm. You then mount the CD ROM inside your VM and install the tools.
The snapshot mechanism lets you make a fast checkpoint of your VM to which you can revert later. This lets you build a transaction over the state of your VM that you can later abort if necessary. For example, you might want to install a new kernel in your VM but are concerned it might make it unbootable. If you take a snapshot before you install the kernel, and the kernel doesn't work out, you can revert the machine back to the snapshot.
Using VM->Settings, you can configure your VM to be started (stopped) when the physical machine it is on is started (stopped). This is very convenient for a server VM that needs to stay up. Graceful shutdowns require that you install VMware Tools.
You can script VM management from either the server or any client. On the server, there is a collection of command-line tools named vmware* Both the server and the clients support a Perl scripting API. These APIs let you do things like control VM startup and shutdown.
VMware Server Console doesn't have built-in mechanisms for VM cloning. You can do this yourself, however. Simply shut down the VM, ssh into the physical machine, and make a copy of its directory (in /home/you/VMs). When you start the clone, it will ask if you want to give it a new GUID. You do.
If you're interested in research on virtualization, you may be interested in the Virtuoso Project and the class EECS 441: Resource Virtualization from the Prescience Lab.